• Skip to primary navigation
  • Skip to main content
  • Skip to primary sidebar

Sometimes Crafty

  • Home
    • About
    • Candyland Studio
    • Contact
  • Topics
    • Birthdays
    • Christmas
    • Crafting for Profit
    • DIY
    • Easter
    • Food
    • Halloween
    • House Stuff
    • Scouting
    • Wedding
  • Disclosure
  • Privacy Policy
  • Resource Library
You are here: Home / Crafting for Profit / How to Sublimate Earrings with Bezel Settings

How to Sublimate Earrings with Bezel Settings

January 27, 2023 by Laura Leave a Comment

Blog Post Image: How to sublimate earrings for bezel settings


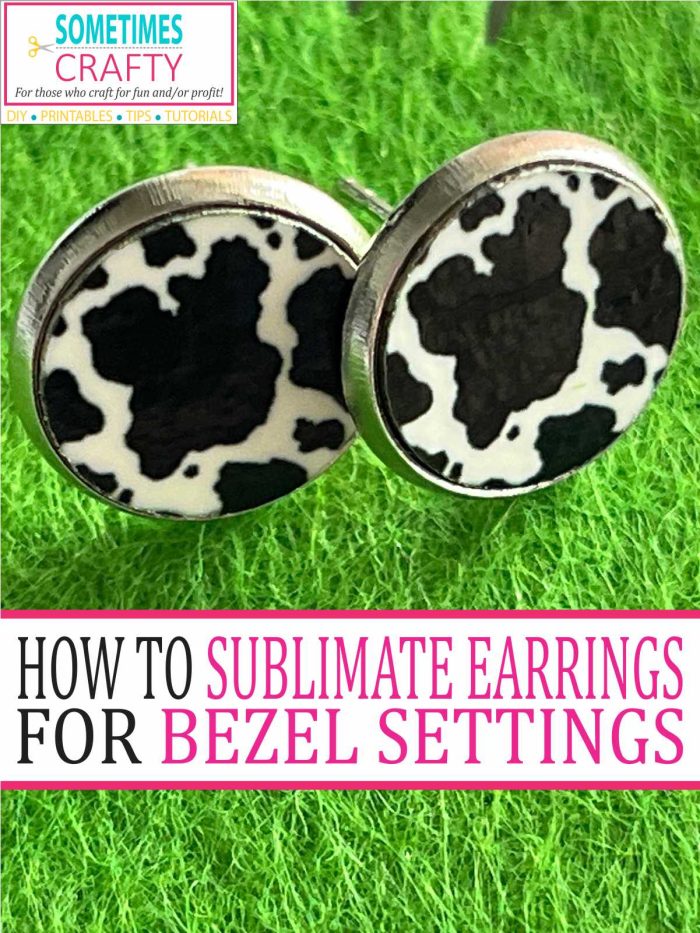
Today I’m going to share how to sublimate earrings and add bezel settings.

Supplies:

  • Custom sized jewelry inserts
  • 12mm silver bezel settings (or choose from the other color options!
  • Designs printed on sublimation paper
  • Parchment Paper
  • Heat Press

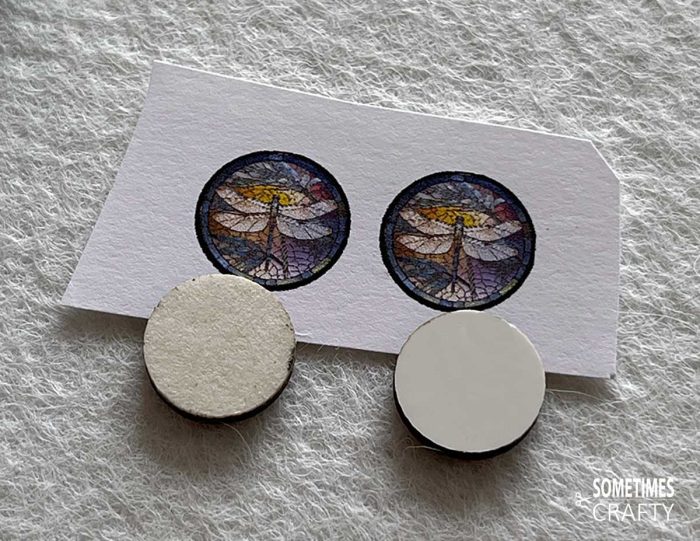
First you’re going to print your designs on your sublimation paper. I sized these to be approximately 0.55″ round so there is a full bleed on the earring blanks. (Do yourself a favor and leave more space between graphics. The following worked, but it was a little challenging when taping.)

TIP: If you want to know how to sublimate earrings in large quantities to sell at craft shows you can print a full pattern sheet (such as the red & blue stars below). This makes it quick and easy because you don’t have to line anything up…you can make LOTS of earrings in one press!

Sublimation transfer sheet with earring designs - cow print, tie dye sunflower, suncatcher dragonfly, red & blue stars.

Then you want to be sure you carefully peel the top layer only…there is a protective paper layer on the very top. It was hard to photograph, but in person you should be able to see the difference. The blank on the left is glossy white beneath the protective layer. The blank on the left is dull, and feels like paper. This is because the protective layer is still on.

Glossy white sublimation earring blanks with protective layer next to silver earring bezels.


Side note, this is the most common issue with these blanks. If you are not familiar with them you might think they do not have a protective layer to peel. So, I did a little sublimation experiment. In the photo below the blank on the left still has the protective coating on. The blank on the right has been peeled.

Sublimation transfer print with blanks.

I sublimated both pieces for 210 seconds at 350 degrees Fahrenheit with medium pressure.

Examples of sublimation earrings - one is sublimated properly, one was sublimated on the transfer tape.

Showing the difference between glossy and dull sublimation earrings.

So, now that we are absolutely sure we have peeled the protective layers off, we tape the glossy white sides of the blank face down on the sublimation transfer page.

Sublimation earrings are taped face down on transfer paper

Make sure you flip that over before pressing so the sublimation transfer is on top.

Sublimation transfer face down on sublimation blanks waiting to be pressed.

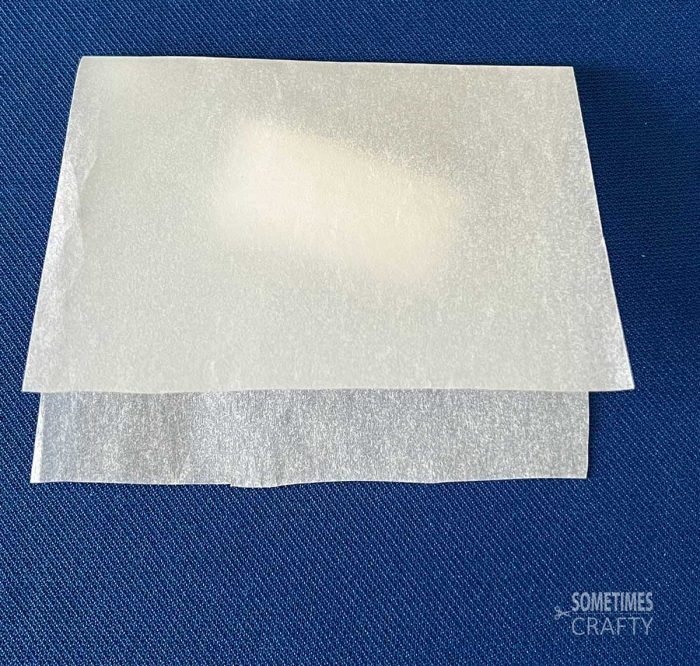
Cover with parchment paper.

Sublimation blanks covered with parchment paper

Press. Your time, temperature and pressure may vary depending on your equipment, but I have found success using 350 degrees for 210 seconds and medium pressure.

sublimation time and temperature

When the time is up, carefully remove from the press and let them cool. Once cooled gently remove the heat tape without removing the adhesive backing layer beneath.

Cow print earrings and silver bezel

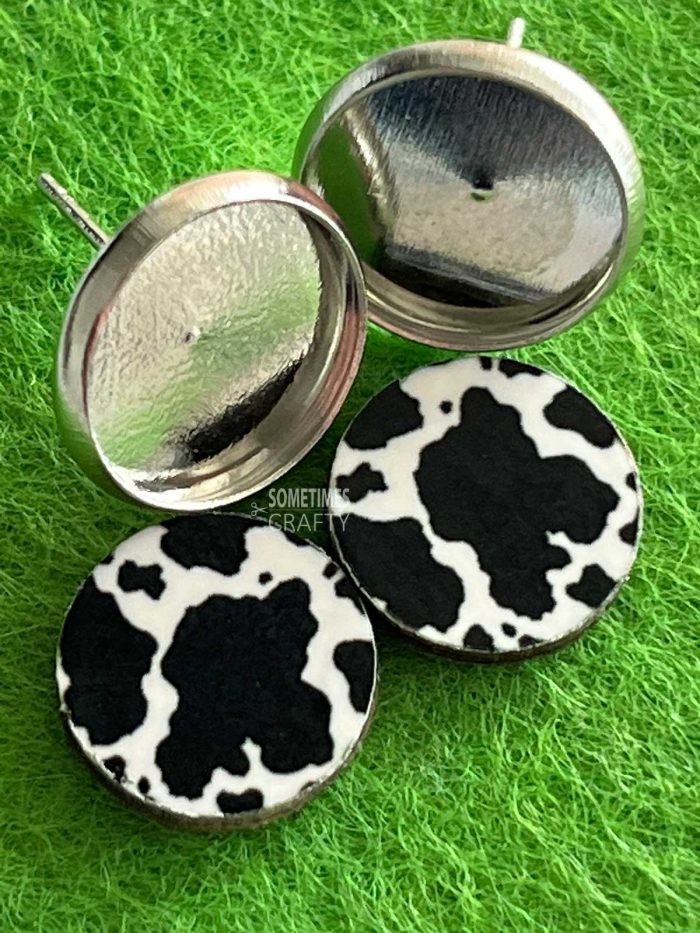
When you are ready to assemble peel the adhesive backing from the blank and pop them right into the bezel settings. It’s a snug fit!

Adhesive sublimation earrings

How cute are these?? So many fun options!Examples of sublimation earrings - photograph, red & blue stars, tie dye sunflower, cow print.

Sublimated cow print earrings in silver bezel.


If you enjoyed learning how to sublimate earrings, you might also enjoy how to sublimate a felt air freshener!

WANT TO REMEMBER
HOW TO SUBLIMATE EARRING BLANKS
FOR BEZEL SETTINGS?
CLICK HERE TO PIN TO
YOUR FAVORITE PINTEREST BOARD!

Blog Post Image: How to sublimate earrings for bezel settings


Filed Under: Crafting for Profit

Previous Post: « How to Sublimate Stiff Felt Fresheners
Next Post: How to Make a Felt Air Freshener with Heat Transfer Vinyl »

Reader Interactions

Leave a Reply Cancel reply

Your email address will not be published. Required fields are marked *

This site uses Akismet to reduce spam. Learn how your comment data is processed.

Primary Sidebar

What’cha lookin’ for?

Have I been helpful?

♥ Click below to contribute to my caffeinated creativity so I can keep churning out freebies! ♥

Buy me a coffee!

Amazon Affiliate Disclosure

Sometimes Crafty participates in the Amazon Services, LLC Associates Program, an affiliate advertising program designed for sites to earn advertising fees by advertising and linking to Amazon.

Etsy Ad

Copyright © 2023 Sometimes Crafty

We are using cookies to give you the best experience on our website.

You can find out more about which cookies we are using or switch them off in settings.

Sometimes Crafty
Powered by  GDPR Cookie Compliance
Privacy Overview

This website uses cookies so that we can provide you with the best user experience possible. Cookie information is stored in your browser and performs functions such as recognising you when you return to our website and helping our team to understand which sections of the website you find most interesting and useful.

Strictly Necessary Cookies

Strictly Necessary Cookie should be enabled at all times so that we can save your preferences for cookie settings.

If you disable this cookie, we will not be able to save your preferences. This means that every time you visit this website you will need to enable or disable cookies again.

Cookie Policy

More information about our Cookie Policy


Related Posts Plugin for WordPress, Blogger...


Related Posts Plugin for WordPress, Blogger...


Related Posts Plugin for WordPress, Blogger...