
How to Make Car Air Fresheners with Felt Blanks
Felt car air freshener blanks have been really popular sublimation blanks in my shop lately, so I wanted to put together a quick tutorial showing how to make car air fresheners with felt blanks, sublimation transfers, and your favorite fragrance or essential oils.
These are fun to make for gifts, craft fairs, small shop items, or just for your own car. They are also a nice project because you can customize the shape, design, and scent.
Update: No sublimation printer? Scroll to the bottom of this post for more ways on how to make car air fresheners with felt blanks.
This post may contain affiliate links. If you purchase through my links, I may earn a small commission at no extra cost to you.

While there are a lot of different supplies and equipment options, I’m going to list the things I have personally used or heard good things about. You may already have some of these items on hand, so use what works best for your setup.
Supplies I Used
Some of the items below are affiliate links for your convenience.
-
- Felt Blanks – I made an assortment of fun shapes, and you can even request something new. You can shop them on my website or in my Etsy shop!
- Shop fun shapes on my or my
- Graphic(s) – I will continue to add more free downloads in the Resource Library
- Sublimation Printer – I have the Sawgrass SG800 from Conde, but I have heard you can convert the Epson Ecotank or the 7720 with good results
- Sublimation Paper – A-SUB paper was really popular with a lot of crafters, but my printer did not like it
- Heat press – I started with a 16″ x 20″ clamshell heat press but upgraded to a pneumatic dual heat press
- Basting spray – I used to use the adhesive spray from sublimation suppliers, but basting spray is way more affordable, easier to find locally at a fabric store, and works just fine for me
- Parchment paper – I have heard butcher paper works, too. This protects your heat press from extra ink.
- Heat Tape (optional) – ptional. I don’t always love using it on felt because it can be a little too sticky.
- Elastic Cord – For hanging the finished air freshener.
- Packaging Bags Optional, but nice if you are gifting or selling them.
- Transfer Pipettes – Optional, but great for adding fragrance oils
- Fragrances – Use your favorite scents
- Spray bottles – Optional, but nice if you want to include extra scent for refreshing later.
- Felt Blanks – I made an assortment of fun shapes, and you can even request something new. You can shop them on my website or in my Etsy shop!
How to Make Car Air Fresheners with Felt Sublimation Blanks
First, set your heat press to the proper temperature, pressure, and time.
For my setup, I usually press felt blanks at 400 degrees Fahrenheit with low to medium pressure for 60 seconds. Your equipment may need slightly different settings, so I always recommend testing first.
Don’t forget to add scrap packs if you order blanks from me. They are perfect for testing settings without ruining your good blanks.

Step 1: Create and Print Your Design
Create your graphic in whatever design software you like to use. If you need designs, you can find some of my free downloads in the Resources Library.
Before printing, make sure to mirror your image. If you are making a double-sided air freshener, check the backside design too. You may need to flip the design so the text reads correctly after pressing.
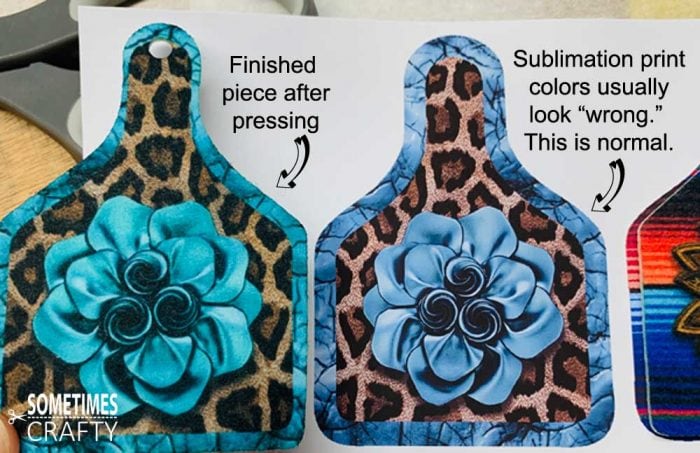
Also, don’t panic if your sublimation print looks dull or the colors look a little off. That is normal before pressing.
Step 2: Protect Your Heat Press
Place parchment paper, packing paper, or butcher paper on the bottom of your heat press.
I usually design my graphics slightly larger than the blank so the print goes all the way to the edges. This is called a full bleed design.
Place your printed sublimation transfer face down on the felt blank. Then sandwich the blank and transfer between sheets of protective paper. This helps catch the extra ink so it does not stain your heat press.
Trust me, you do not want extra sublimation ink on your press. It can transfer onto future projects and ruin them.
I also use Teflon platen covers on my heat press, which makes cleanup a little easier if something does get on it.

Step 3: Keep the Transfer in Place
If you are pressing multiple blanks at one time, I suggest using a quick spritz of Pro Spray (or basting spray) to keep everything from shifting.
Heat tape may work too, but I have found it a little too sticky for felt.

Step 4: Press the Felt Blank
Press your felt blank for your chosen time and temperature.
Again, I usually use 400 degrees for 60 seconds with low to medium pressure.
If you are still testing, use a scrap piece first. A small sample pack is much better than ruining your good blanks while figuring out your settings.
Step 5: Check the Design
When the time is up, carefully remove the pieces from the press and check your image.
If you are sublimating the backside, repeat the same steps for the second side.
Step 6: Add the Cord
Cut a piece of elastic cord to about 12 inches for each air freshener.
Thread it through the hole, tie it, and trim the ends if needed.
Step 7: Add Scent
To finish, add a few drops of your favorite fragrance or essential oil to the felt.
I recommend testing your scent on a scrap piece first, especially if your design has light or white areas. Some fragrance oils can leave oil spots or discolor the print.

Tips for Making Felt Car Air Fresheners
- Make sure your print is mirrored before pressing.
- Do not worry if your sublimation transfer looks dull before pressing. The colors usually brighten after heat is applied.
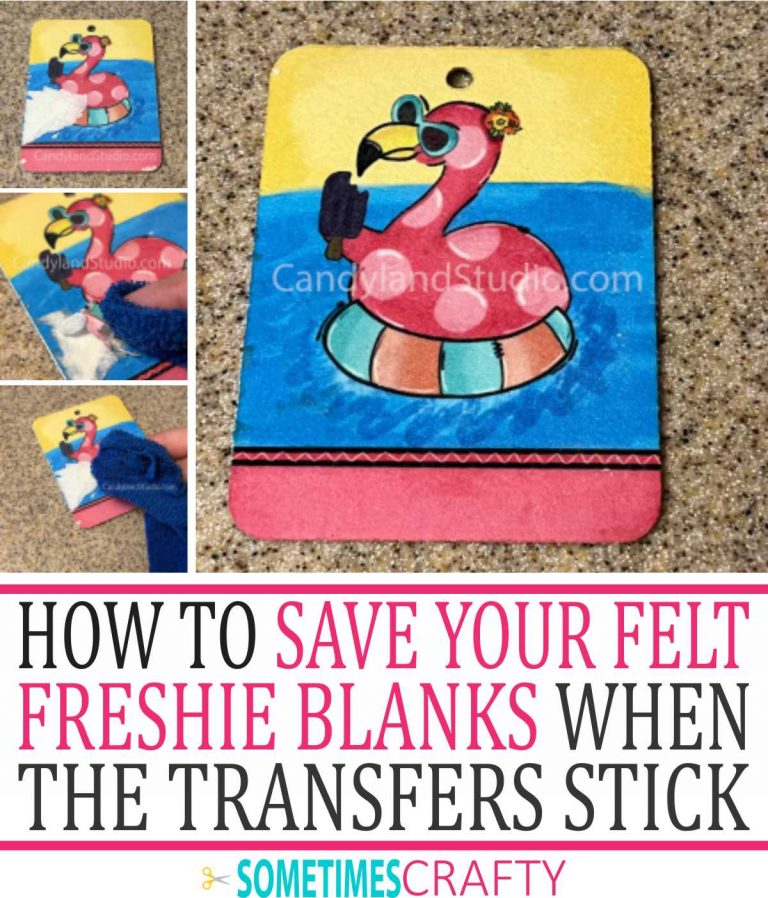
- If the transfer paper sticks to the blank, I have a separate post showing how I salvage those pieces.
- Test fragrance oils on scraps first. Some scents can leave oil marks or discolor lighter parts of the design.
- If you are gifting or selling the air fresheners, you can include a small spray bottle of extra fragrance so the scent can be refreshed later.
I have not found anything that keeps the scent strong for more than a couple of days. If you find something that works longer, I would love to hear about it.

Resources for This Tutorial
Here are the blanks and graphics I used in this tutorial. Some graphics are available for free in the Resource Library;, and others are graphics I purchased.
- Cow Tag blank + Sunflower graphic on serape background,
- Cow Tag blank + Teal Flower on Leopard and Teal Background
- Circle blank – US Flag Wooden Background
- Horizontal Rectangle blank + “Love” Leopard Frame with Floral Accents on Teal Sequin Background (free download in the Resource Library)
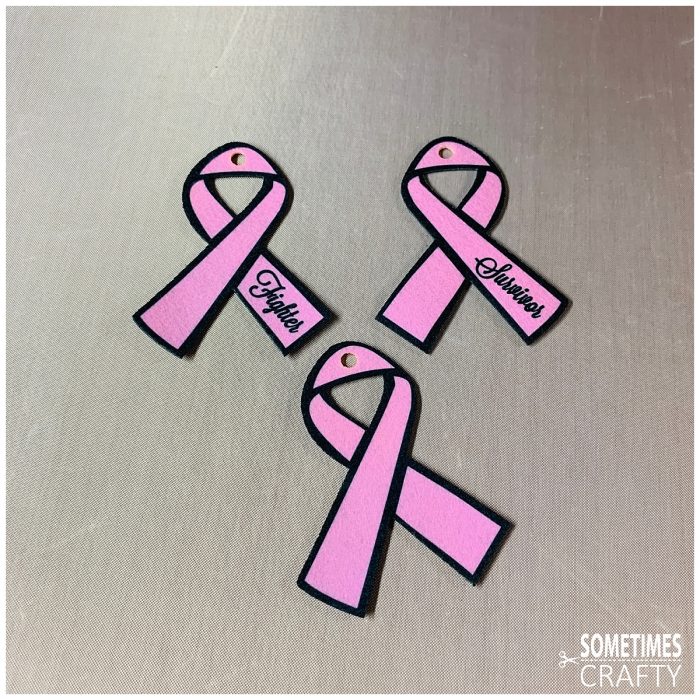
- Awareness Ribbons + Pink Ribbon graphic for breast cancer; Pink/Blue Ribbon graphic for pregnancy/infant loss (free downloads in the Resource Library)
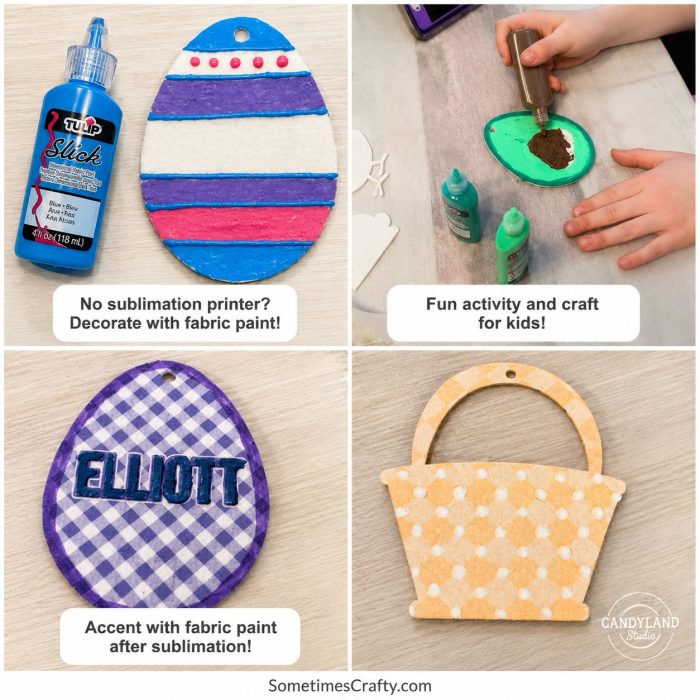
No Sublimation Printer? Don’t know How to Make Car Air Fresheners? Try These Ideas
You can still decorate felt freshener blanks even if you do not have a sublimation printer.

Final Thoughts
That’s it! Felt car air fresheners are a fun little project, and once you get your settings figured out, they come together pretty quickly.
As always, if you have any tips or tricks to share, I would love to hear them. I also love seeing your finished projects, especially if you are using my blanks.
Want to Remember How to Make Car Air Fresheners?
Save this tutorial to your favorite Pinterest board so you can find it again later.
CLICK HERE TO PIN TO
YOUR FAVORITE PINTEREST BOARD!


Hi! We sell 12×18 sheets via the Candyland Studio link you mentioned. The site isn’t under construction, the password page is there to let visitors know we are currently relocating so orders placed during this time can be made, but they won’t be shipped as quickly as usual. The password is readily available in the notice if you’d like to browse. 🙂
Alternatively, you can check your local fabric shop for felt. Keep in mind it must be polyester if you will be sublimating. Just a side note, if you find craft store felt is not thick enough for your needs, our sheets are usually thicker (approximately 1/8”.)
Hope that helps!