
🧷 How to Assemble a DIY Mini Booklet (No Stapler Needed!)
If you’re looking for a fun and functional way to add value to your product packaging, classroom, or event, these tiny booklets are a creative way to do it! Whether you’re using them for marketing inserts, tutorials, party favors, mini-coloring booklets, or games, this step-by-step tutorial shows you how to fold, cut, and assemble a DIY Mini Booklet—all from a single sheet of paper.
✂️ Supplies You’ll Need
1 printed Mini Booklet PDF (single-sided, 8-page layout)
Scissors
A flat surface for folding
Optional: Bone folder or ruler for sharper creases
🖨 Print Tip: For best results, print at 100% scale (do not “fit to page”). Use regular printer paper—about 28–32 lb works great. Cardstock is usually too thick.
📖 Step-by-Step Instructions
Step 1: Fold the Paper in Half Vertically/Lengthwise
Fold the paper in half along the long edge. Crease firmly.
Step 2: Fold in Half Widthwise
Now fold the paper in half along the short edge. Press down to form a sharp crease.
Step 3: Fold One More Time
Fold it in half again (widthwise), forming a small booklet shape. You’ll now see 8 small rectangles.
Step 4: Unfold/Refold Widthwise
Open the paper back up completely. You should see 8 equal rectangles created by the fold lines. Now fold the paper in half widthwise.
Step 5: Cut a slit
Using scissors, cut a slit halfway across the center horizontal fold line, stopping at the middle (where the vertical fold intersects). You’re essentially cutting a line through the center of the page.
Step 6: Unfold
Unfold the paper completely. ✂️ It should look like a slit or hole in the center when opened flat.
Step 7: Fold Lengthwise, Pinch Corners and push together
Fold the paper in half lengthwise again (so the slit runs along the fold).
Hold each corner and gently push toward the center—the paper should begin to pop open into an “X” or diamond shape.
Step 8: Finish Pressing & Enjoy!
Press the sides around to collapse it into a booklet shape. Flatten all the edges and you’re done!
🎉 You Did It!
You’ve now got your own palm-sized mini booklet, assembled from just one sheet of paper. They’re great for:
Tutorials with QR code links
Small business marketing inserts
Wedding, baby shower, or birthday favors
Mini games, coloring books, or holiday activities
Coupons, loyalty punch cards, or event tickets
🛠 Want to Make Your Own?
I offer Canva templates that lets you create your own custom mini booklets—perfect for small business owners, event planners, and creators. Add your own branding, QR codes, or themed designs!
👉 Click here to grab the basic Canva template
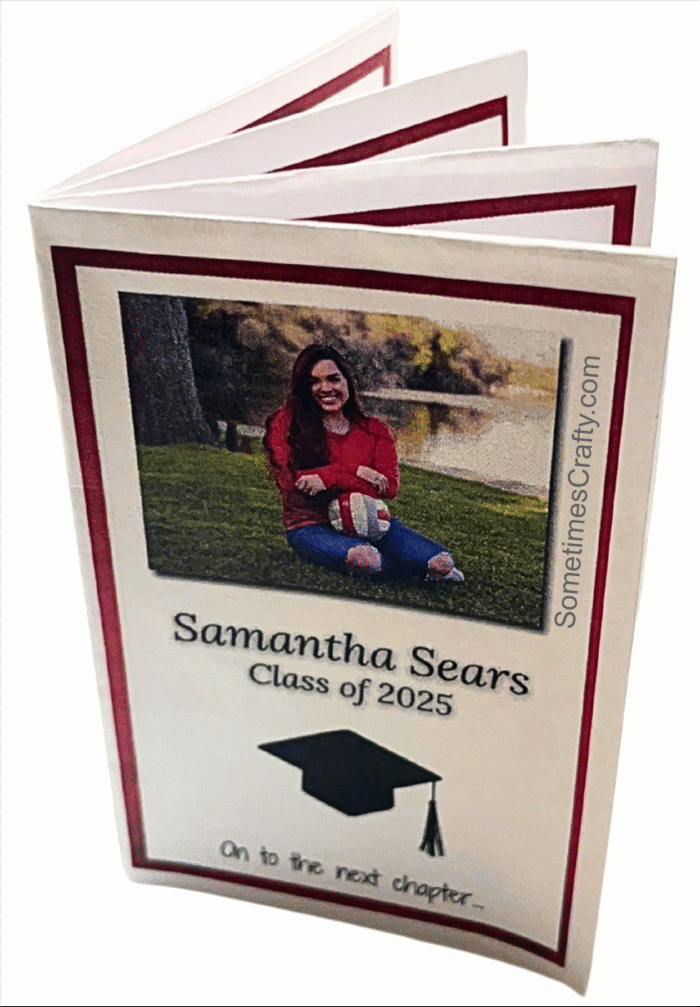
👉 Click here to get the GRADUATION keepsake Canva template
📹 Prefer to Watch?
Here’s a quick video showing how to fold and assemble your booklet from start to finish:

🖨 Want a Printable Tutorial for a DIY Mini Booklet?
👉 Click here to grab the PDF Instructions
Leave a Reply