
 Have you ever spent
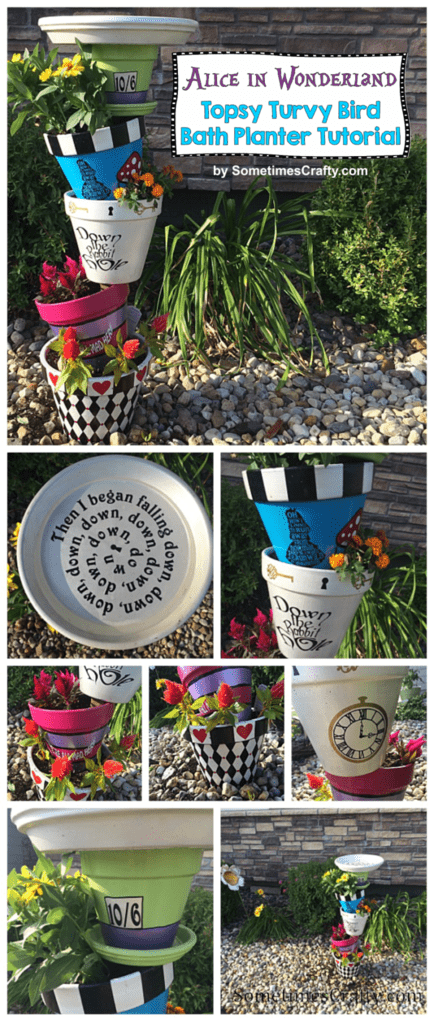
 minutes hours drooling over all the topsy turvy planters on Pinterest like me? Uh, yeah. SUPER CUTE, am I right?! I’ve been wanting to make one for a long time, and somewhere along the way I decided it should be based on Alice in Wonderland. I read several other tutorials on how to make these, and I’m going to share a few tips and tricks I learned along the way. *This post contains affiliate links (which costs you nothing!) but allows me the opportunity to earn a few cents here and there that goes to cover the cost of maintaining this site. Thank you!
SUPPLY LIST
- 6″ Clay Saucer
- 12″ Clay Saucer
- 10″ Clay Pot
- 8″ Clay Pots (3)
- 6″ Clay Pot
- 3/4″ x 36″ Rebar
- Hammer
- Spray Primer (I used a couple of whatever I had on hand)
- Paint (I used Rust-Oleum American Accents Ultra Cover 2x spray paint and assorted acrylic paints)
- Paint Brushes/Sponges
- Vinyl Decals (optional)
- E6000 Adhesive
- Mod Podge
- Clear Sealant Spray
- 7/8″ x 6″ Hex Bolt (found at Home Depot)
- Flowers
[adsense_hint]
INSTRUCTIONS

First I sketched out a rough idea of what I was envisioning. Normally I do all my mock ups on a computer, but this time I decided it was easier to use good ole paper and colored pencils. No laughing at my drawing…I never claimed to be an artist!
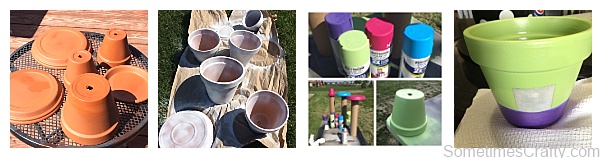
Then I washed all my pots and saucers, and let them dry overnight. Next was a couple coats of clear sealant then primer, inside and out. Then the fun began…bright, bold and beautiful base paint! I did 2-3 coats using spray paint. (I LOVE spray paint! Every time I use it I want to do more projects with it!) Then I started doing the details with acrylic paints. I really liked the metallic colors, and used a metallic lilac and metallic/pearl white.
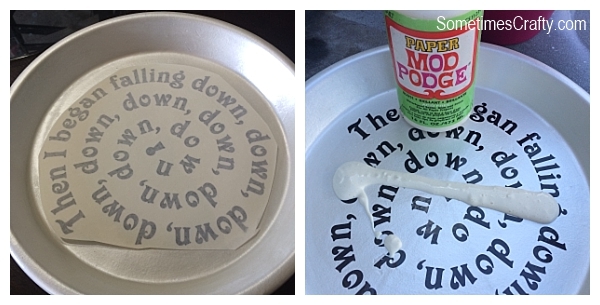
Originally I had planned to use the vinyl decals as stencils, and realized who am I kidding? Decals are going to be much nicer than any sort of painting I could do, stencil or not! Once the decals were applied I used Mod Podge to seal. When I took the above photo it was only then I realized the Mod Podge I had just poured was for paper. Oops! So, I did the first layer with that, then ran to the store for the standard Gloss Mod Podge. (Side note: I did some research and found Mod Podge actually makes a formula specifically for outdoor use, but I decided to just go with the gloss version. I also nearly bought a gallon thinking I would need quite a lot for this whole project, but I’m glad I didn’t because it really doesn’t take much!) After 2-3 coats of Mod Podge I used the spray sealant to get rid of the slight tackiness left from the Mod Podge.
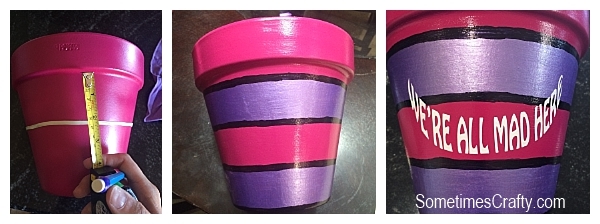
I used a rubber band to help me draw the lines to do horizontal stripes for the Cheshire Cat pot, then I painted with the metallic acrylics. I used a black Sharpie to do the bold black stripes. Again, I sealed with Mod Podge and did the clear spray to finish.

For the Queen of Hearts pot vinyl was my saving grace. It was actually what made me think to use vinyl in the first place…there was just no way I could get the harlequin pattern sketched on the pot no matter how many tutorials I found. I’m not that talented, but I am a creative thinker. =) So, I decided decals would be the way to go. If you look closely you will see it’s not perfect, but it is BY FAR better than any free hand painting I could do. Once again I used a black sharpie under the rim of the pot, then I followed with black acrylic paint. I finished up with 2-3 coats of Mod Podge and a clear spray.

I followed the same routine with the rest of the pots – one for Alice, one for the white rabbit, and one for the Mad Hatter. I did glue the Mad Hatter’s pot to the saucer with the E6000 adhesive, which is my favorite strong glue.

I am totally in love with these bright, bold and beautiful Wonderland pots!! It was hard to take my time and let everything dry in between coats…I couldn’t wait to finish this project!

I picked a spot in front of my daughter’s window so she could hopefully catch some birds taking a bath! I pounded the rebar into the ground a few inches, then started stacking pots. (Side Note: I cut up a pool noodle to create lightweight filler mixed with the dirt and to allow drainage in the pots. Once I started to assemble them I decided this might not be the best idea because I needed a solid surface for the pots, not something squishy like the pool noodles.)
Not gonna lie, at this point I was getting frustrated. I couldn’t get the pots to tip as much as I imagined, and I hadn’t really accounted for the amount of the design that would be covered up by putting the pot in another pot. Some of the paint started scratching off from the friction as I kept rotating and moving and squishing and pushing and trying to get things set up like I wanted. After looking at more topsy turvy planters I think I could’ve gotten the pots to tip more if they were larger pots, but eventually I got mine to look pretty good.
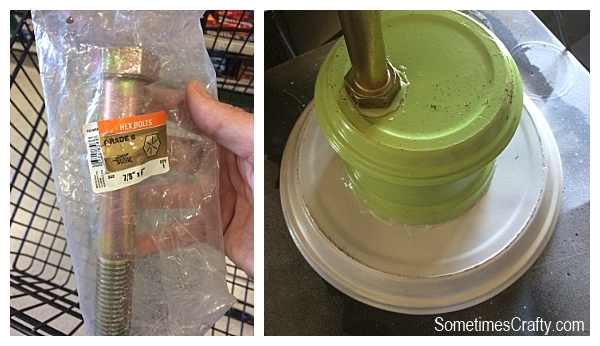
I wasn’t really sure how the top was going to work out, so I took a chance and tried this crazy idea. I glued the 12″ round top (for the bird bath) to the top of the Mad Hatter pot with the E6000. I let that dry for 2 days as I kept adding a bit more glue every 12-24 hours to make sure it was good and strong.
Next I glued the giant hex bolt with the same E6000, and let that dry for a day or two before assembling.

Before I put the top on, I started filling the pots with flowers and more dirt. When I got to the top I balanced the Mad Hatter pot on the edge of the Alice pot, and buried the hex bolt in the dirt of the Alice pot. Make sense? It still didn’t seem very secure, so I added more E6000 glue to the edge of the Alice pot and bottom of the Mad Hatter saucer. I’m not real sure how that will work out if I ever need to disassemble this thing, but I figure I’ll deal with that when the time time comes! LOL
So, I got it all situated as best I could, glued and filled with flowers and water, and in the end even though I was going for more wonky tipsy pots, I’d say it’s still pretty darn cute! =) I had also thought about adding a little dish to the top for bird food, but my girls are working on their own little bird baths/feeders so I figured we could put their projects next to mine.
My mind is already swirling with more ideas to add to my Alice theme, and I’m semi obsessed with decorating cute pots! Whether or not I’ll find the time or ambition to complete more of these projects is the question. =) Hope you enjoyed this tutorial! Let me know if you have any questions and please share photos if you make your own!
[adsense_hint]
Pin it!
