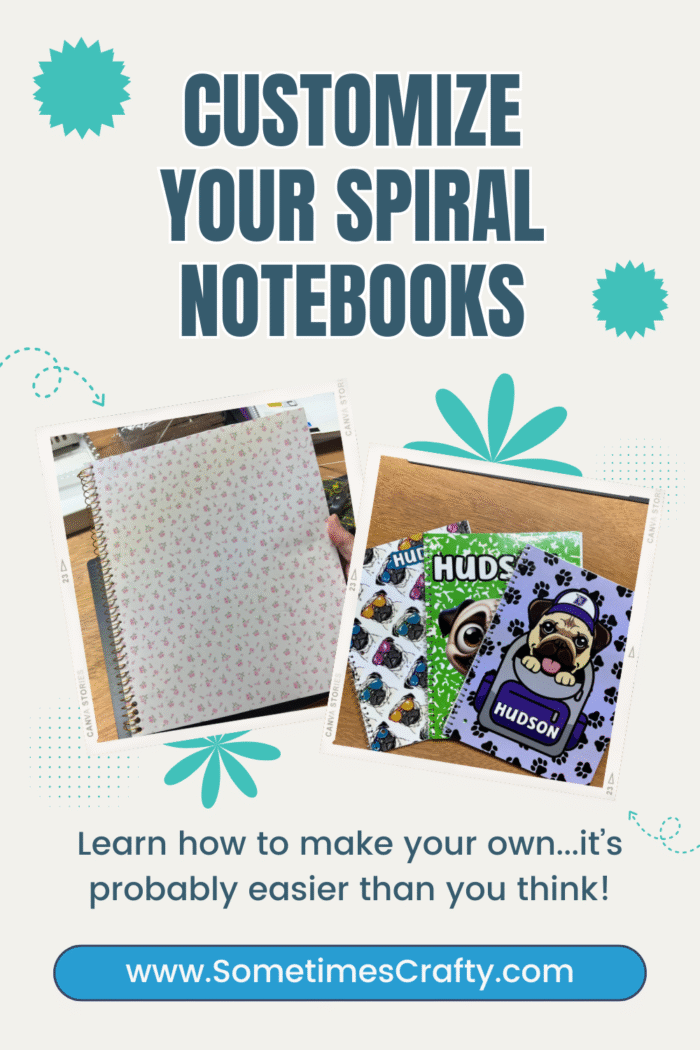
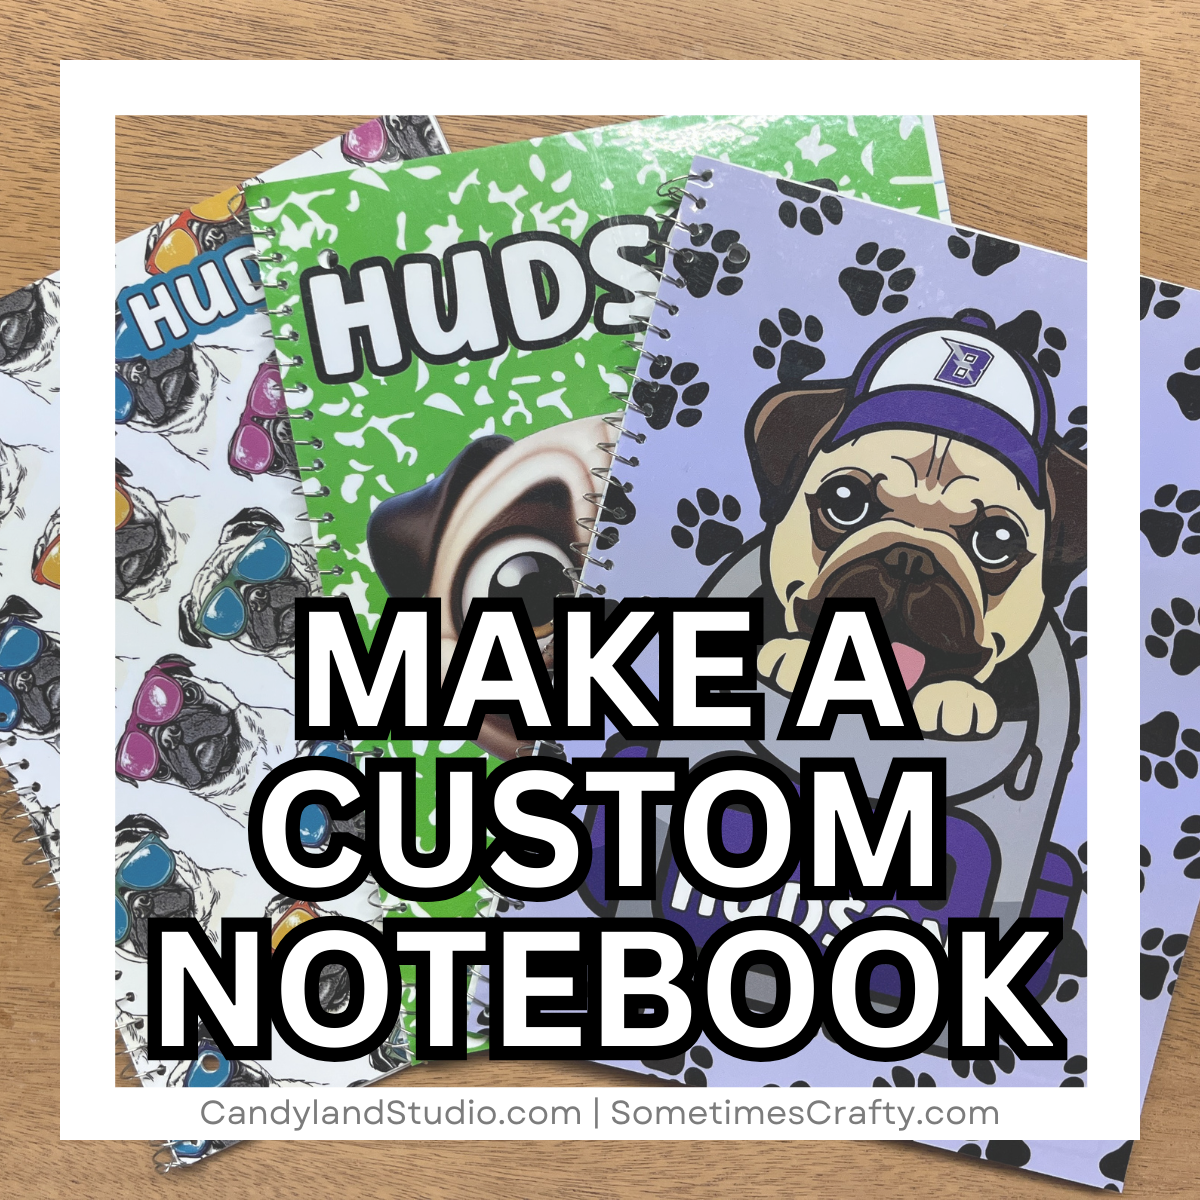
How to Make a Custom Spiral Notebook
Tired of plain, boring spiral notebooks?
With just a few simple tools and materials, you can turn any off-the-shelf notebook into a custom spiral notebook. In this tutorial, I’ll walk you step-by-step through how to remove the original cover, apply your own custom design, and reassemble the notebook so it’s ready to use (or gift!). Whether you want a stylish notebook for yourself, a unique school supply, or a thoughtful handmade present, this method is probably easier than you think!
Affiliate links have been included below for your convenience.
Supplies
Base Materials
-
Spiral notebook – (You can sometimes find these for about $0.35 at back to school sales!)
-
Notebook cover design (printed sticker or transfer sheet) – Available on Etsy, or print your own! I design mine to be 11″ x 9.125″ so it’s easier to apply.
Tools
-
Scissors or rotary cutter
- Straight edge
-
Hole punches (¼” & ⅛”)
Assembly Helpers
-
Binder clips (1–3)
-
Squeegee or credit card
Optional
-
Custom colored coil – my daughter insisted she have GOLD coils for her notebooks ♥
Instructions
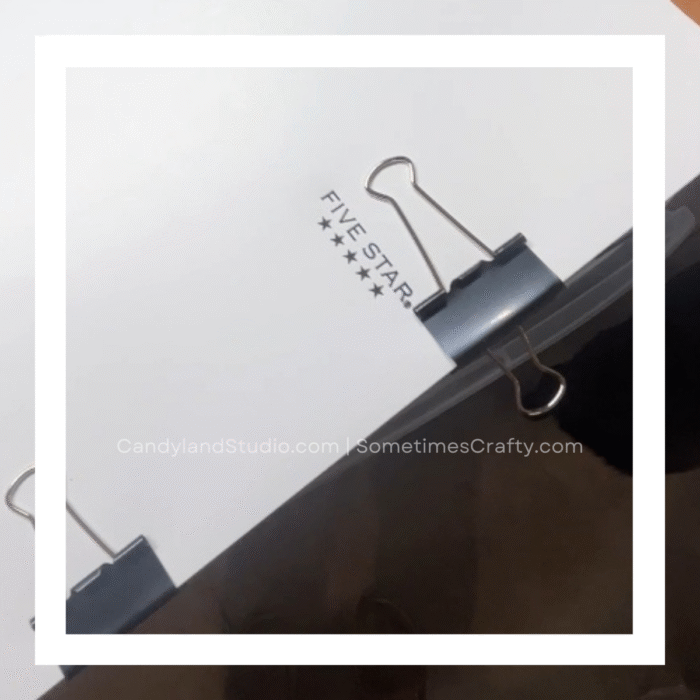
Step 1: Secure the Notebook
Attach 1–3 binder clips along the edge to keep all pages and covers firmly together. This will make disassembly easier and prevent misalignment.
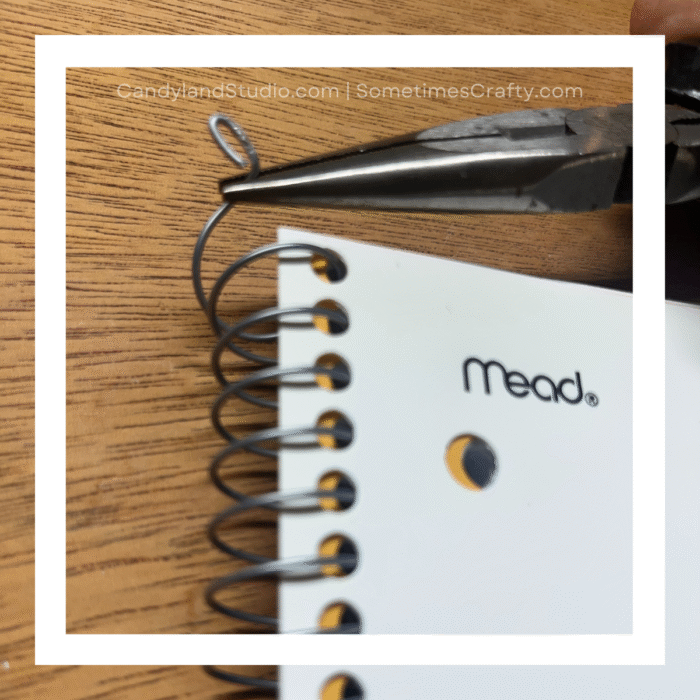
Step 2: Remove the Spiral Coil
Use wire cutters to snip the coil ends. Then gently twist the spiral out of the holes until it is completely free.
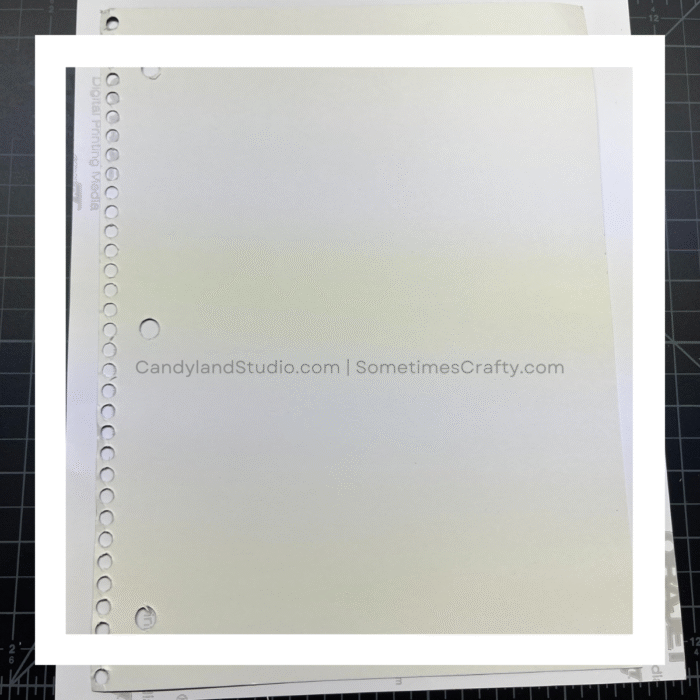
Step 3: Separate the Cover
Remove the existing notebook cover. Set the pages and spiral coil aside for later reassembly.
Step 4: Apply the New Cover Design
Peel and position your printed cover sticker or transfer sheet. The sticker sheet will be slightly oversized for easier application. Use a squeegee or credit card to smooth it down, starting from one side and pressing out air bubbles.
Tip: Work slowly to prevent wrinkles and bubbles. If you are applying to a plastic cover you can lift and reposition before fully pressing down. If you are applying to a cardboard cover you will be unable to remove the sticker. Use a small needle to pierce any bubbles, then smooth out the air with your finger.
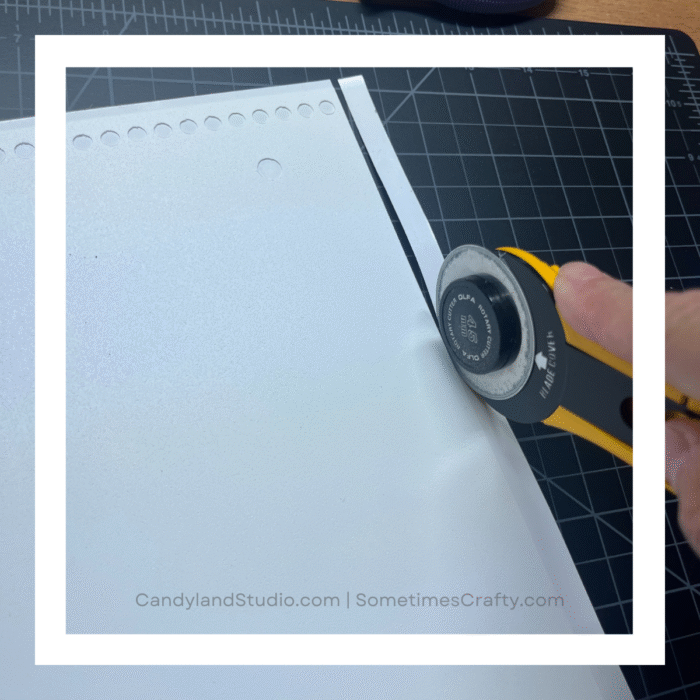
Step 5: Trim the Edges
Using scissors or a rotary cutter and straight edge, carefully trim away any excess sticker so it’s flush with the notebook edge.
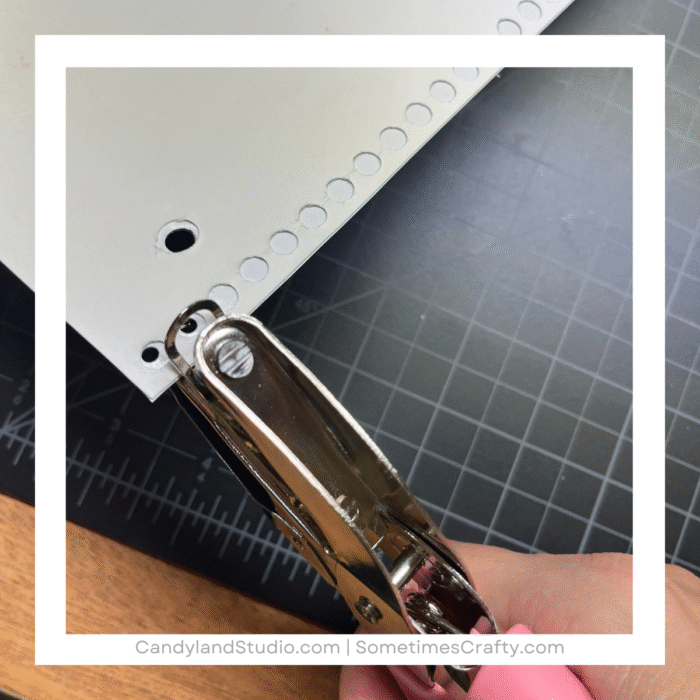
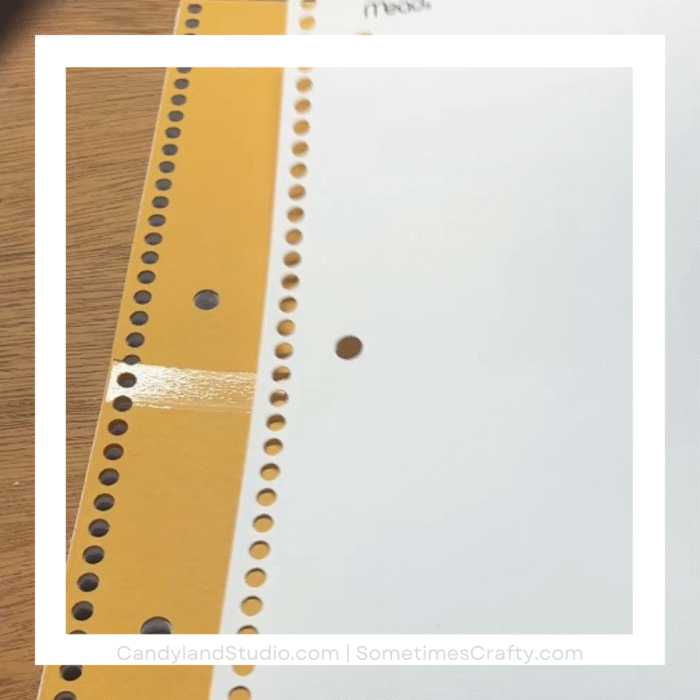
Step 6: Punch the Holes
Using the old cover as a template:
-
Punch the 3 larger holes with a ¼” punch
-
Punch the smaller coil holes with a ⅛” punch
Step 7: Reattach the Cover to the Pages
Line up the punched holes of the new cover with the notebook pages. Clip in place to keep everything aligned.
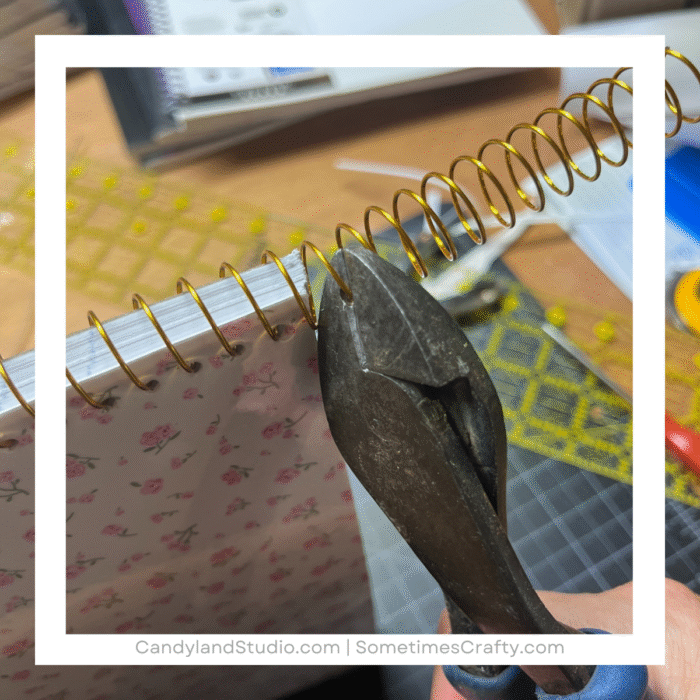
Step 8: Reinsert the Spiral Coil
Roll the coil back through all holes. Trim the end if needed, then bend with needle nose pliers and tuck in to secure.
Tip: Twist gently to avoid bending the coil out of shape.
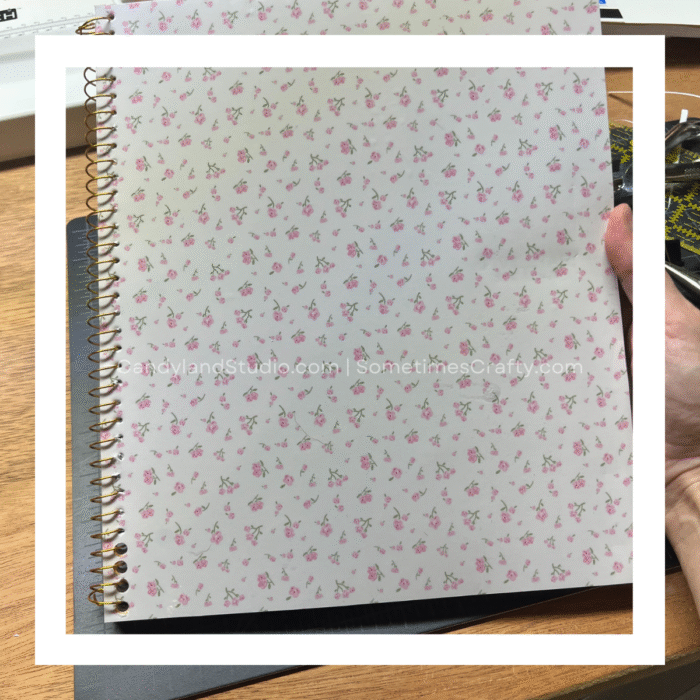
Step 9: Remove Clips & Enjoy
Take off the binder clips and admire your custom spiral notebook!
Pin It for Later!
Don’t forget to save this project for future reference.